
Position sizing — full lessons
How much to put on — the share count, the risk, the whole book.
Olympia publishes educational content for learning purposes only. Past performance is not indicative of future results. Nothing here is investment advice.
Position sizing
Risk & sizing
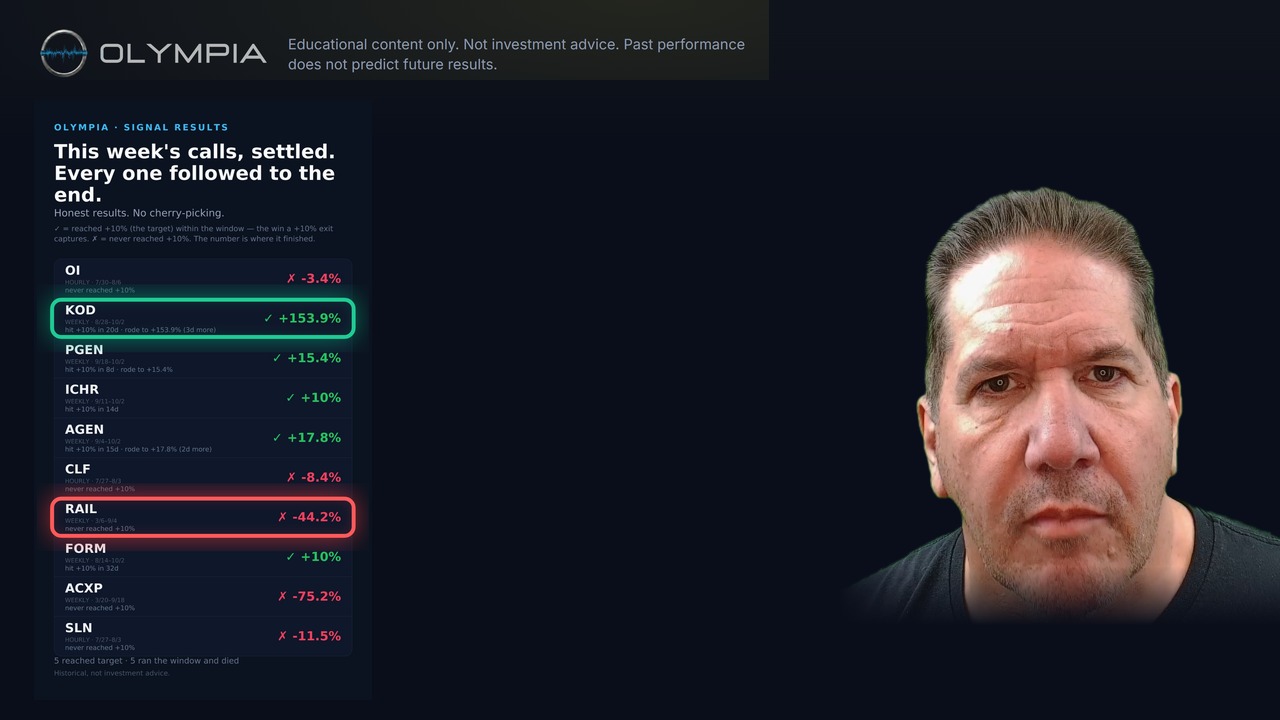
One trade sized right can't knock you out. Five of the same trade can. Position sizing across the whole book: portfolio heat, correlation, concentration versus diversification, and sizing to conviction without going past the cap.
Risk & sizing
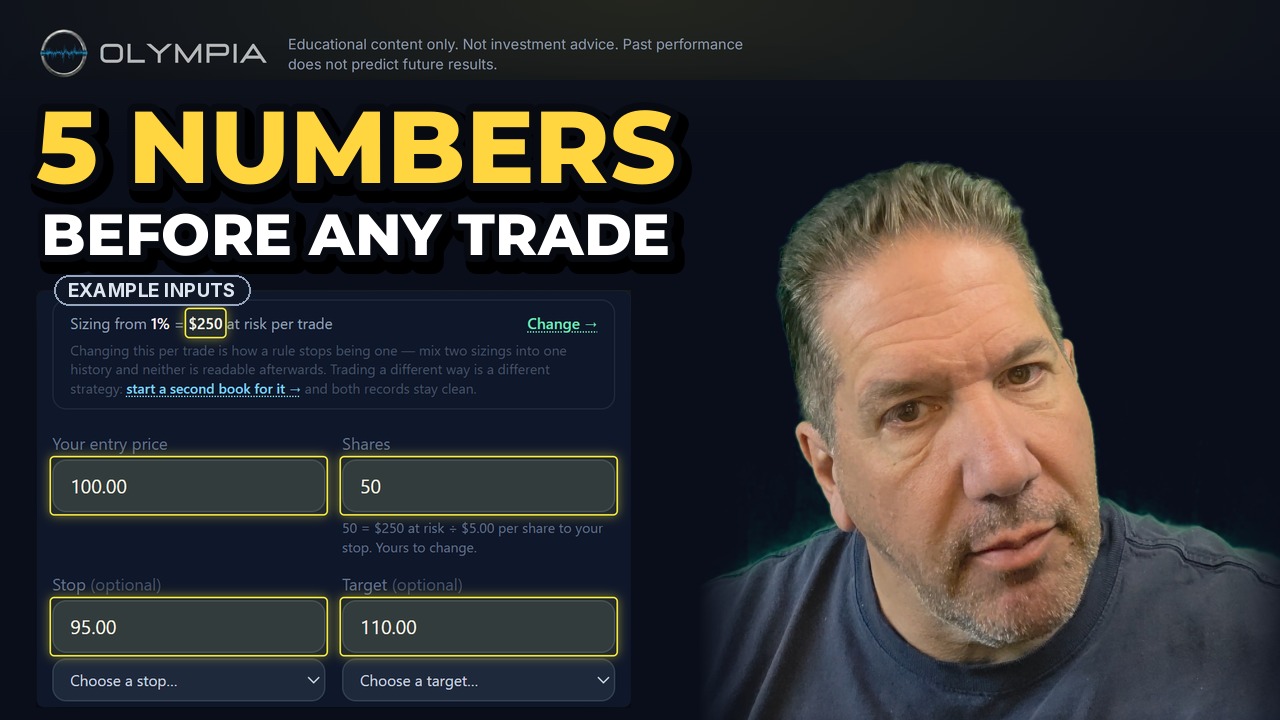
Four numbers exist before you ever click the buy, and the price you pay is the fifth. Your R — the most a trade is allowed to hurt — comes from your account, not from the stock. Then the stop, then 1R, 2R and 3R measured off it, and the share count falls out of a single division. The entry is the last number, not the first.
Risk & sizing
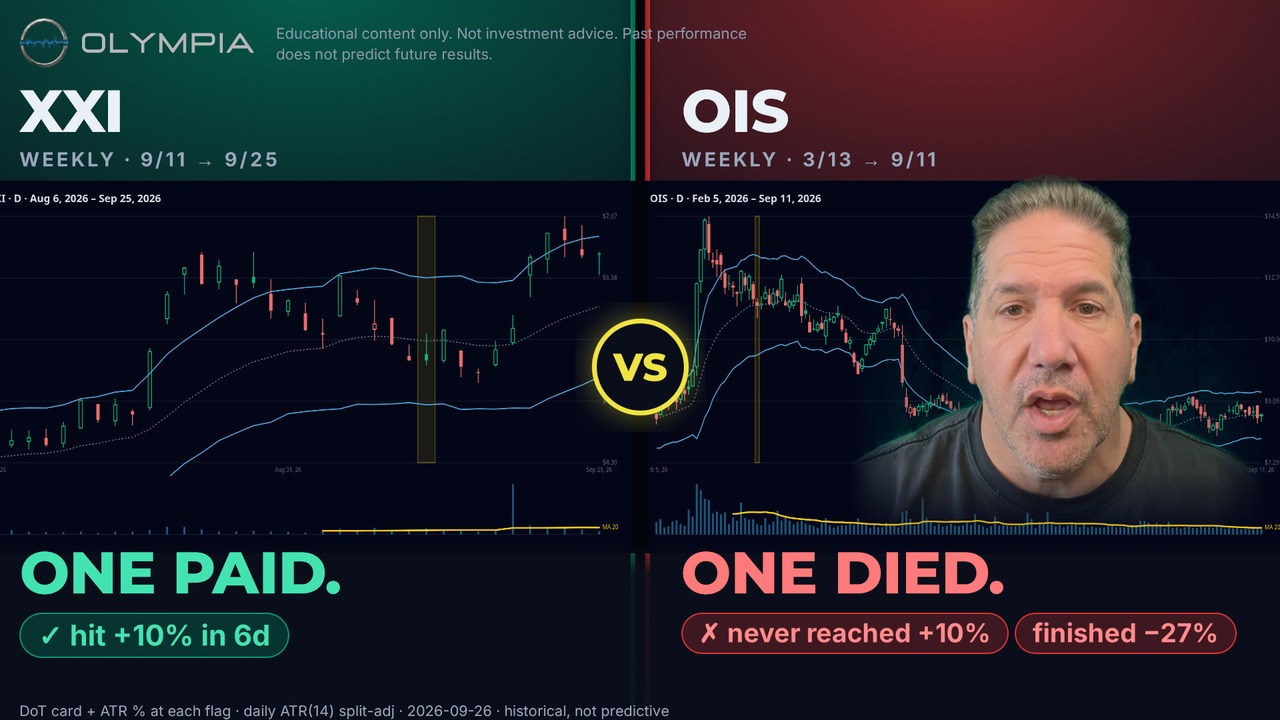
Two flags from the same scanner: one paid, one died. The ATR number didn't call either one. What it tells you is how rough the ride gets and how much room the trade needs. Then the stop: why it's measured in the stock's own ATR instead of a flat 10%, and why a wider stop doesn't have to mean a bigger loss.

Risk & sizing
You can be right about the company, right about the direction, and still lose money. Three quiet account-drainers, walked through on a real historical chart: oversized positions, no stop (or a random one), and hoping a loser eventually comes back.

Risk & sizing
Why size, not stock picks, decides whether an account survives.
Want the short version? Position sizing — short lessons (9)
Start free: the Playbook and the week's record by email
One email every Sunday — the week's record and the room's link. Free, no hype, unsubscribe anytime.
The free Playbook + the week's record by email + the live room — coming soon; your first invite comes by email.
Free · no card · unsubscribe anytime · we never sell your email · Privacy policy